 EN
How to Compare Custom Bubble Mailer Printing Options for Brand Campaigns
In a brand campaign, custom bubble mailers are not just a shipping supply. They are a printed touchpoint that arrives at a customer’s door before the product is seen. The strongest choice is rarely the one with high ink coverage or a low unit price. It is the option that aligns the campaign message, artwork workflow, shipping risk, and fulfillment process in one practical specification.
From a B2B procurement perspective, the comparison starts by putting design change, logistics protection, and landed cost on the same checklist. This is especially useful for ecommerce sellers, retailers, and brand teams that need a mailer to carry a recognizable look while protecting the item inside.
Start with the campaign objective, not the print feature list
Before comparing printing routes, define what the mailer needs to accomplish. A launch campaign may need immediate logo recognition. A subscription program may benefit from a repeatable color system. A seasonal promotion may require room for a short message or campaign graphic. These are different communication jobs, and they affect how much of the surface needs to be printed.
Write a one-sentence project objective first: for example, “make the unboxing shipment recognizable while keeping the outer surface easy for the shipping label.” That sentence helps the team separate a necessary brand element from decorative artwork that may complicate production or label placement.
- Recognition-led campaign: compare logo placement, brand colors, and the visibility of the mailer from the front and back.
- Message-led campaign: compare usable print area, hierarchy for a short statement, and whether the message still reads after a shipping label is applied.
- Repeat-shipment program: compare a stable graphic system with version control for sizes, markets, and replenishment cycles.
Looking beyond unit price can change the result. A design that saves a small amount on printing but makes the label zone confusing, forces frequent artwork edits, or weakens recognition may create costs elsewhere in the campaign.
Compare print coverage and placement as separate decisions
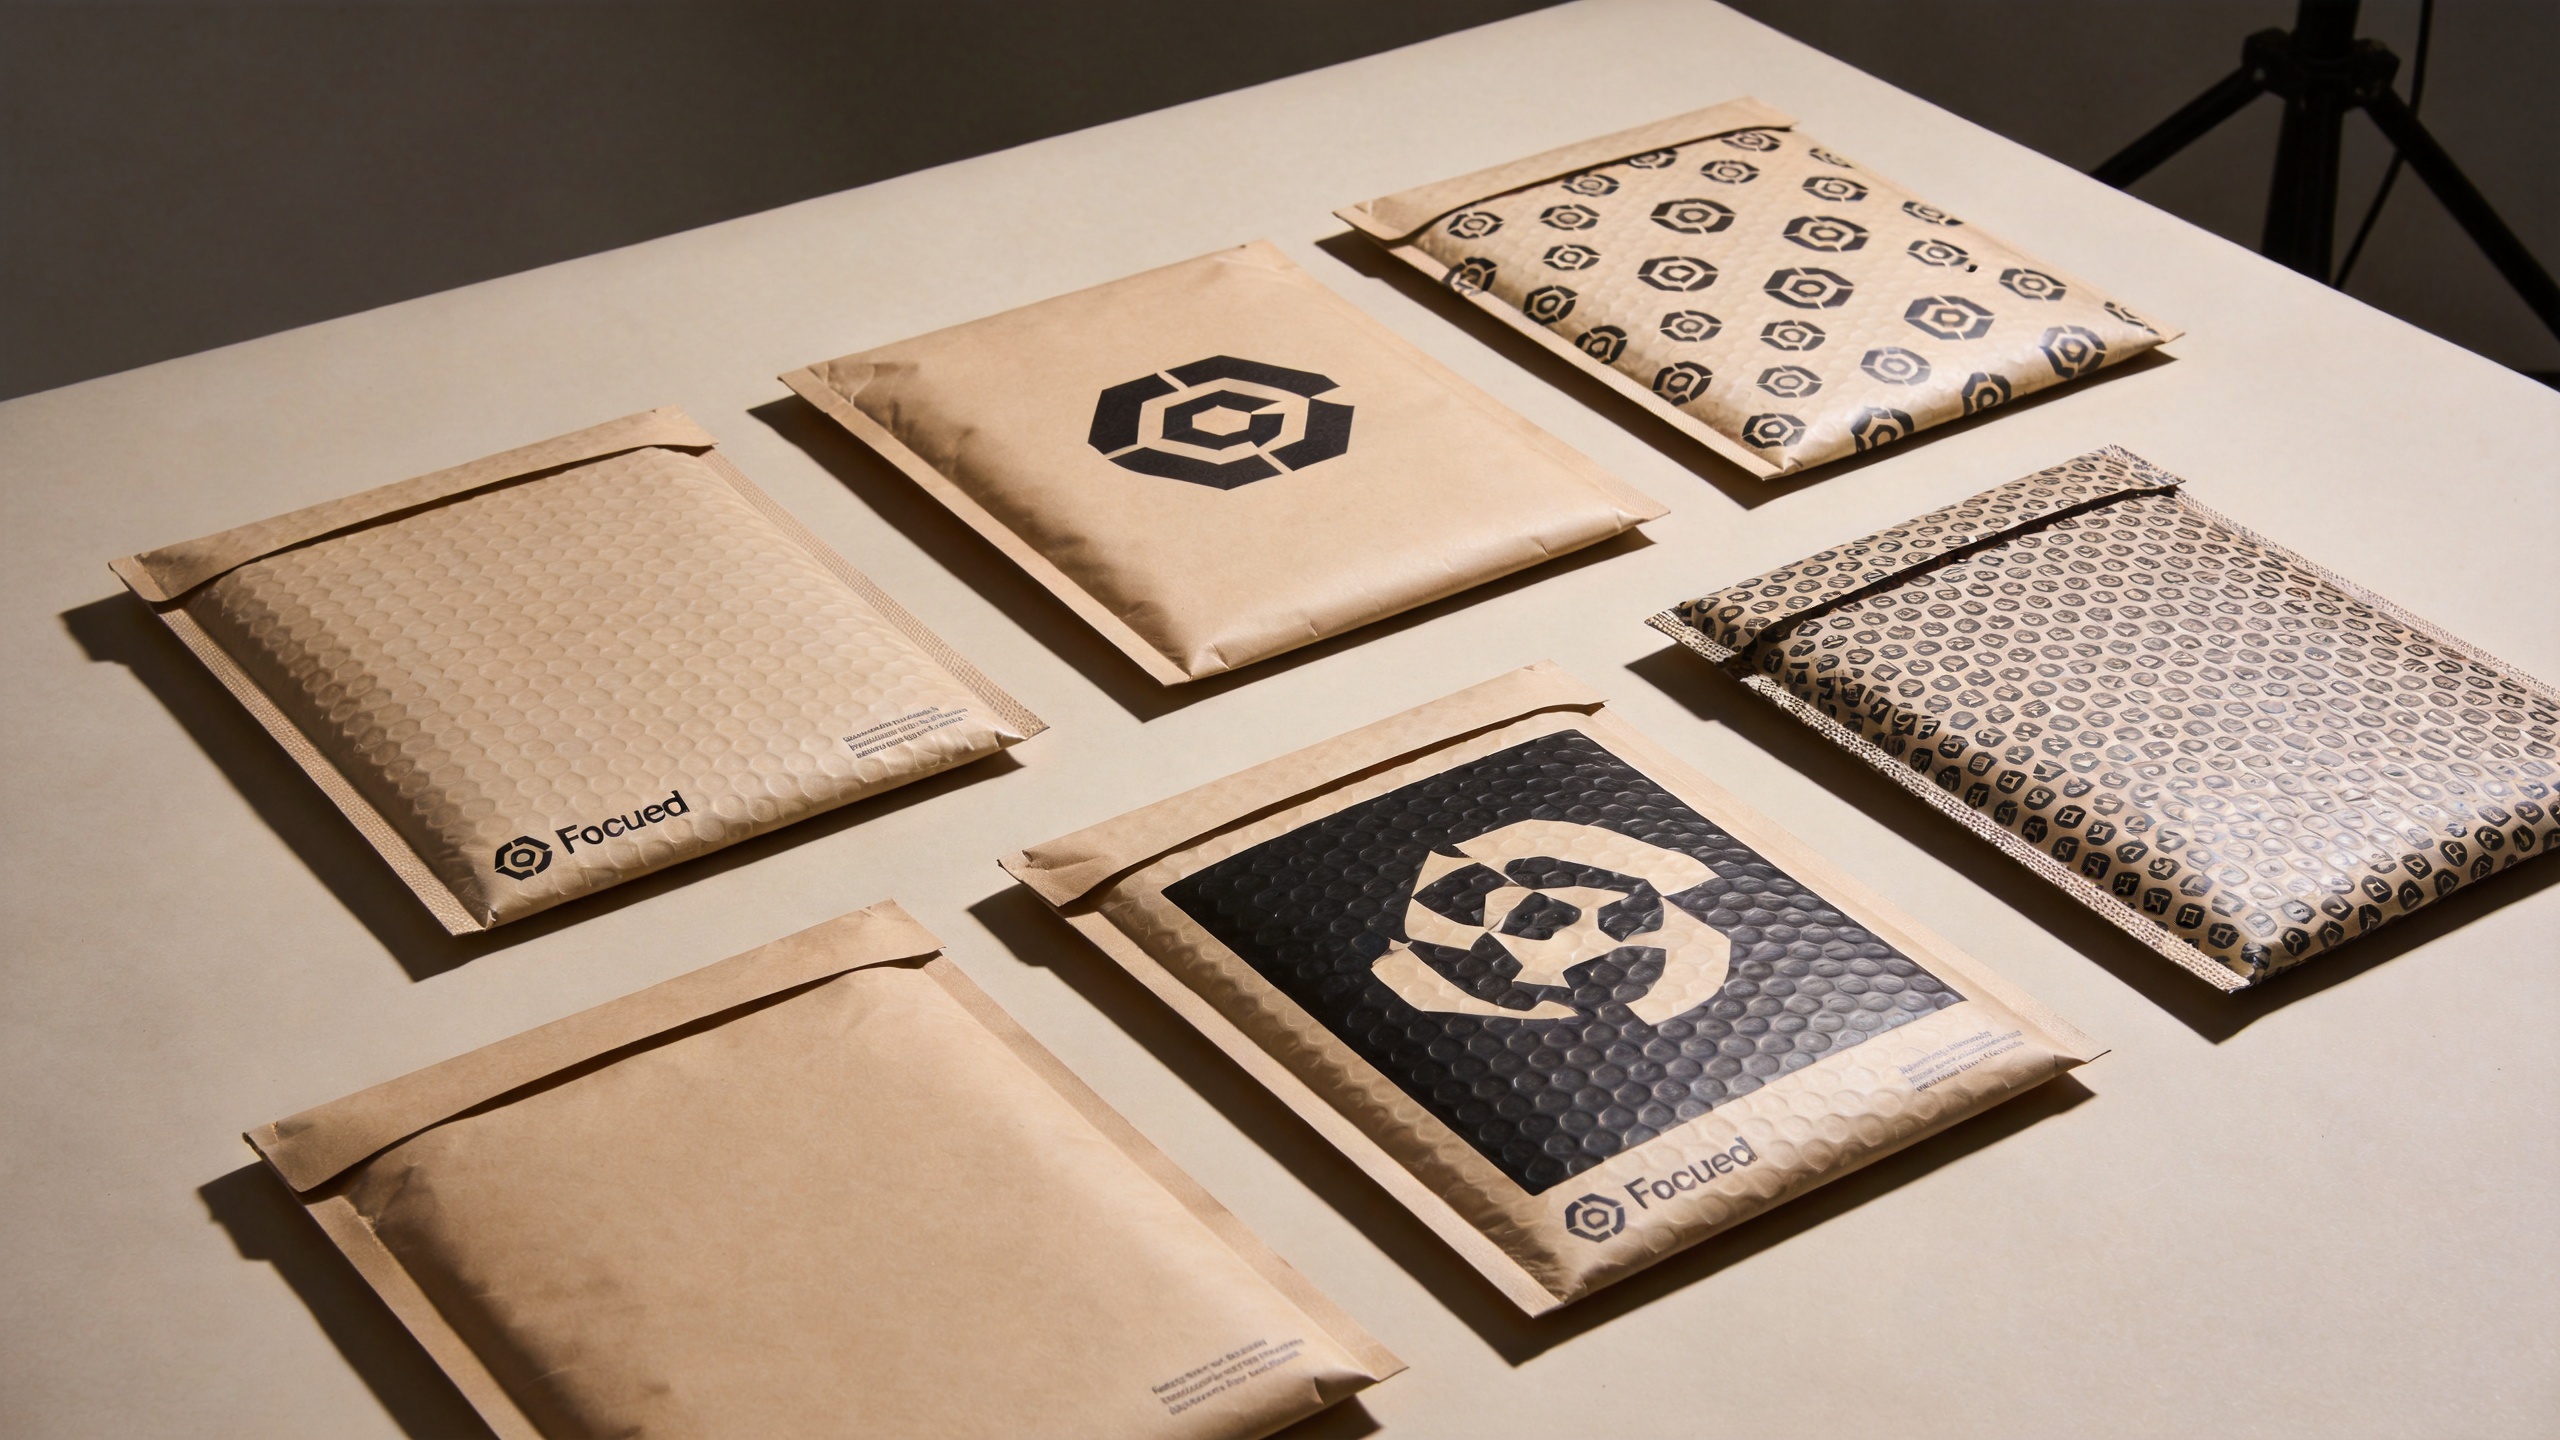
When reviewing custom bubble mailers, do not treat “custom printed” as one option. Ask whether the quote refers to a single logo area, a repeated pattern, a large panel, or near edge-to-edge coverage. Each approach has a different visual effect and a different tolerance for shipping labels, barcodes, and handling marks.
| Printing approach | What to evaluate | When it may fit |
|---|---|---|
| Focused logo or mark | Logo scale, contrast, and clear label zone | Brands that need recognizable packaging with a simple procurement brief |
| Repeat pattern | Pattern alignment, seam interaction, and visual consistency across sizes | Ongoing shipments where a flexible brand system matters |
| Large graphic panel | Reading order, artwork safe area, and the effect of shipping labels | Campaigns with one central message or product story |
| High-coverage artwork | Coverage boundaries, color expectations, scuff visibility, and proof review | Packaging used as a prominent brand or unboxing moment |
The useful question is not simply “Can this be printed?” but “Which surfaces remain visible after labeling and transit?” Reserve a defined area for addresses and operational markings. If the campaign depends on a large image, confirm whether it should sit on the front, the back, or both sides rather than assuming every panel will be used in the same way.
Evaluate color expectations with the production workflow
Brand teams often work in screen-based color, while print production needs a production-ready artwork discussion. Ask the supplier how artwork files, color conversion, bleed, safe areas, and proofs are handled. These questions are more useful than treating a digital mockup as a final color commitment.
Use a proof to check three things together: the readability of small brand elements, the balance between background color and shipping labels, and whether the design still works around seams, closures, or fold lines. If a campaign uses a signature shade, describe the expected result and the approval process instead of relying only on a pasted screenshot. The same artwork can look different when coverage, substrate, and production conditions change.
Supplier-facing artwork guidance commonly discusses file setup, bleed, CMYK-versus-RGB handling, and proof approval. Those are useful comparison points, but the project team should confirm the actual requirements for the chosen mailer construction and print route.
Protect the product before optimizing the graphic
The word “bubble” does not remove the need to define the contents. Custom bubble mailers should be compared against the product’s size, corners, weight, surface sensitivity, shipment distance, and the way cartons are handled in the fulfillment flow. A strong visual treatment is valuable only if the package remains appropriate for the product and route.
For example, a light soft-goods shipment and a small rigid item can create very different protection questions. Ask whether the item needs extra void control, whether protruding corners need added protection, and whether the closure format suits the packing station. If product protection has not been specified, a print quote cannot answer the full buying question.
For a starting reference, teams can review the available Bubble Lined Mailer page alongside their own product dimensions and shipping workflow. The product page should support the discussion, not replace a project-specific assessment of contents and transit conditions.
Compare total project effort, not just the quoted mailer price
For a decision-stage project, the preferred option is often the one with the fewest avoidable handoffs. Compare the effort needed to prepare artwork, approve a proof, maintain different size versions, reserve label space, and brief the fulfillment team. These details can influence a campaign’s timeline as much as the printing method itself.
Projects commonly stall because procurement, design, and operations hold different fragments of the specification. The usual gap is not the material alone; it is that one party lacks the full size, artwork, label, and protection information. Build the comparison around a shared brief so each option is reviewed against the same requirements.
- List the shipped product, packed dimensions, estimated shipment route, and any protection concerns.
- Mark required brand elements, optional campaign elements, and the area that must remain clear for labels.
- State the desired print coverage and which sides require artwork.
- Specify how color, artwork files, and production proofs will be reviewed.
- Ask for the order quantity, size mix, lead-time assumptions, and any packing or closure requirements.
- Record open questions rather than filling them with assumptions before approval.
Use a consistent comparison worksheet
To keep quote reviews aligned, use the same short worksheet for every option. It keeps custom bubble mailers tied to a real project condition rather than an isolated print claim.
| Check | Question for the project brief |
|---|---|
| custom bubble mailers | What product dimensions set the usable size? |
| custom bubble mailers | Which face needs the first brand impression? |
| custom bubble mailers | Which panel must remain clear for labels? |
| custom bubble mailers | Which colors require proof approval? |
| custom bubble mailers | Does artwork need a repeat-pattern check? |
| custom bubble mailers | Does the design cross a seam or closure? |
| custom bubble mailers | What print coverage supports the campaign goal? |
| custom bubble mailers | What contents set the protection requirement? |
| custom bubble mailers | Could protruding corners need added protection? |
| custom bubble mailers | Which closure suits the packing station? |
| custom bubble mailers | What quantity supports the launch schedule? |
| custom bubble mailers | Which sizes share the same artwork system? |
| custom bubble mailers | Who owns artwork approval and revisions? |
| custom bubble mailers | What proof format will the team review? |
| custom bubble mailers | Which market statements need local review? |
| custom bubble mailers | What handling marks remain necessary? |
| custom bubble mailers | How will fulfillment identify each version? |
| custom bubble mailers | Which feature changes need cost comparison? |
| custom bubble mailers | What details must appear in the final brief? |
| custom bubble mailers | Which unanswered points require confirmation? |
Prepare a clearer supplier brief for custom bubble mailers
A concise brief improves comparison because every supplier is answering the same project question. Include the campaign purpose, target markets, product protection needs, mailer dimensions, artwork status, desired placement, label zone, expected quantity, and proof process. For international projects, distinguish universal brand assets from market-specific statements or labels that may need separate review.
Custom printing options are easier to compare when the team avoids absolute claims. Instead of asking for the preferred mailer, ask which construction and printing layout most closely match the contents, brand visibility goal, and operational constraints. That language produces a more usable response and leaves space to identify tradeoffs early.
Make the selection with a four-part scorecard
Use one scorecard for every candidate: brand visibility, artwork control, shipping suitability, and project execution. Weight the four areas according to the campaign. A premium launch may place more weight on visibility and proof control; a high-volume replenishment program may put more weight on repeatability and fulfillment simplicity.
In short, compare custom bubble mailers as a complete campaign asset. Confirm what will be printed, where it will appear, how it will be approved, what must be protected, and how the packing team will use it. That creates a more reliable basis for selecting a mailer design that supports both brand communication and everyday shipping work.